CLI Quickstart
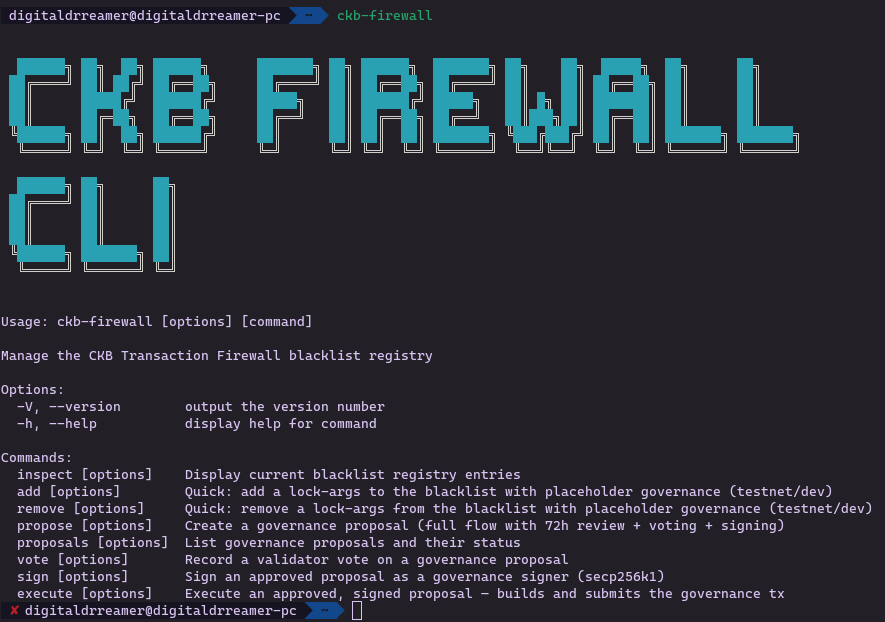
@ckb-firewall/cli is the operator-facing entry point for the registry. It supports inspection, quick testnet/dev changes, and the full governance lifecycle.
Published on npm as @ckb-firewall/cli.
Install
Section titled “Install”npm install -g @ckb-firewall/cliOr use the installer script:
curl -fsSL https://raw.githubusercontent.com/digitaldrreamer/ckb-transaction-firewall/main/scripts/install-cli.sh | bashInspect the live registry
Section titled “Inspect the live registry”ckb-firewall inspectThis reads the canonical testnet registry cell by default.
If you want to see the live cell that powers the default output, use the same outpoint with ckb-cli rpc get_live_cell --with-data. The registry payload is the cell data, not the contract binary.
Quick testnet/dev path
Section titled “Quick testnet/dev path”Use these commands when you want a fast local or testnet-oriented transaction file:
ckb-firewall add --lock-args 0xabc123...ckb-firewall remove --lock-args 0xabc123...Both commands prompt for missing values. Both can write a transaction file and optionally submit it through ckb-cli.
For the exact data source and a minimal transaction-check example, see How to Use.
Governance flow
Section titled “Governance flow”ckb-firewall proposeckb-firewall voteckb-firewall proposalsckb-firewall signckb-firewall execute
That flow is the auditable path for blacklist changes. It is meant to be reviewed, signed, and executed as a governance transaction, not as an ad hoc registry edit.
The implementation is in sdk/cli/src/commands/. If you need to understand how a command behaves, the source is the fastest reference.
When to use it
Section titled “When to use it”- Inspect the live registry
- Prepare blacklist updates
- Review proposal state
- Sign or execute approved registry changes